

Prerequisites
- A Google Workspace domain with Super Admin access to the Admin console
- A Google Cloud project where you can create OAuth clients and service accounts
- Vikat Enterprise deployed and accessible
- Your Vikat callback URL:
https://<your-vikat-domain>/login - Vikat roles created for the roles you plan to map
Step 1: Configure the OAuth consent screen
Open the OAuth consent screen
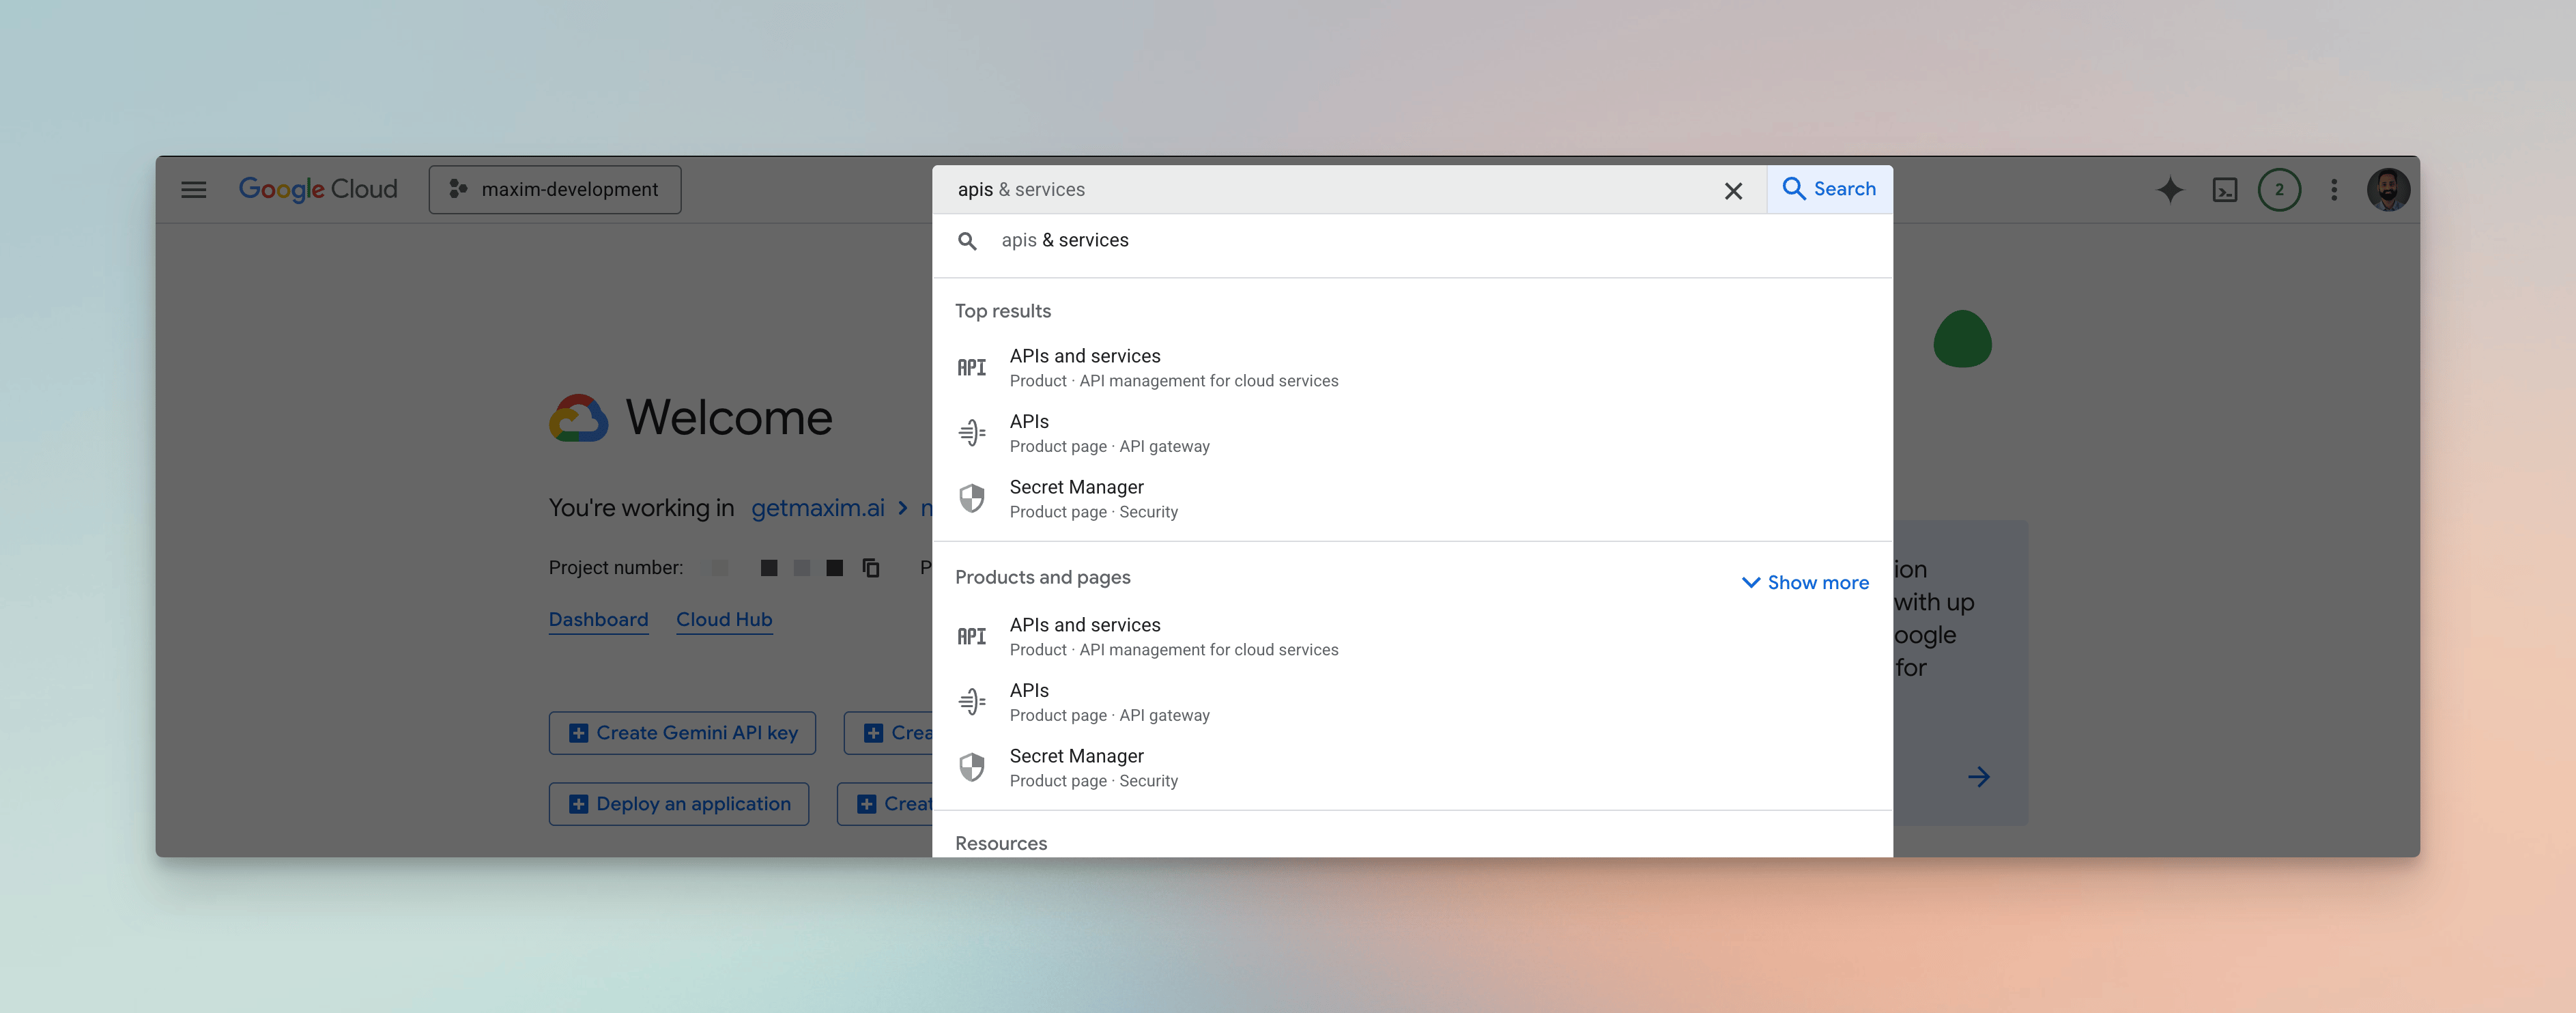
OAuth consent screen - choose Internal for Workspace-only access or External for all Google accounts.
Add the required scopes
openidprofileemail
Step 2: Create an OAuth client ID
Create a new credential
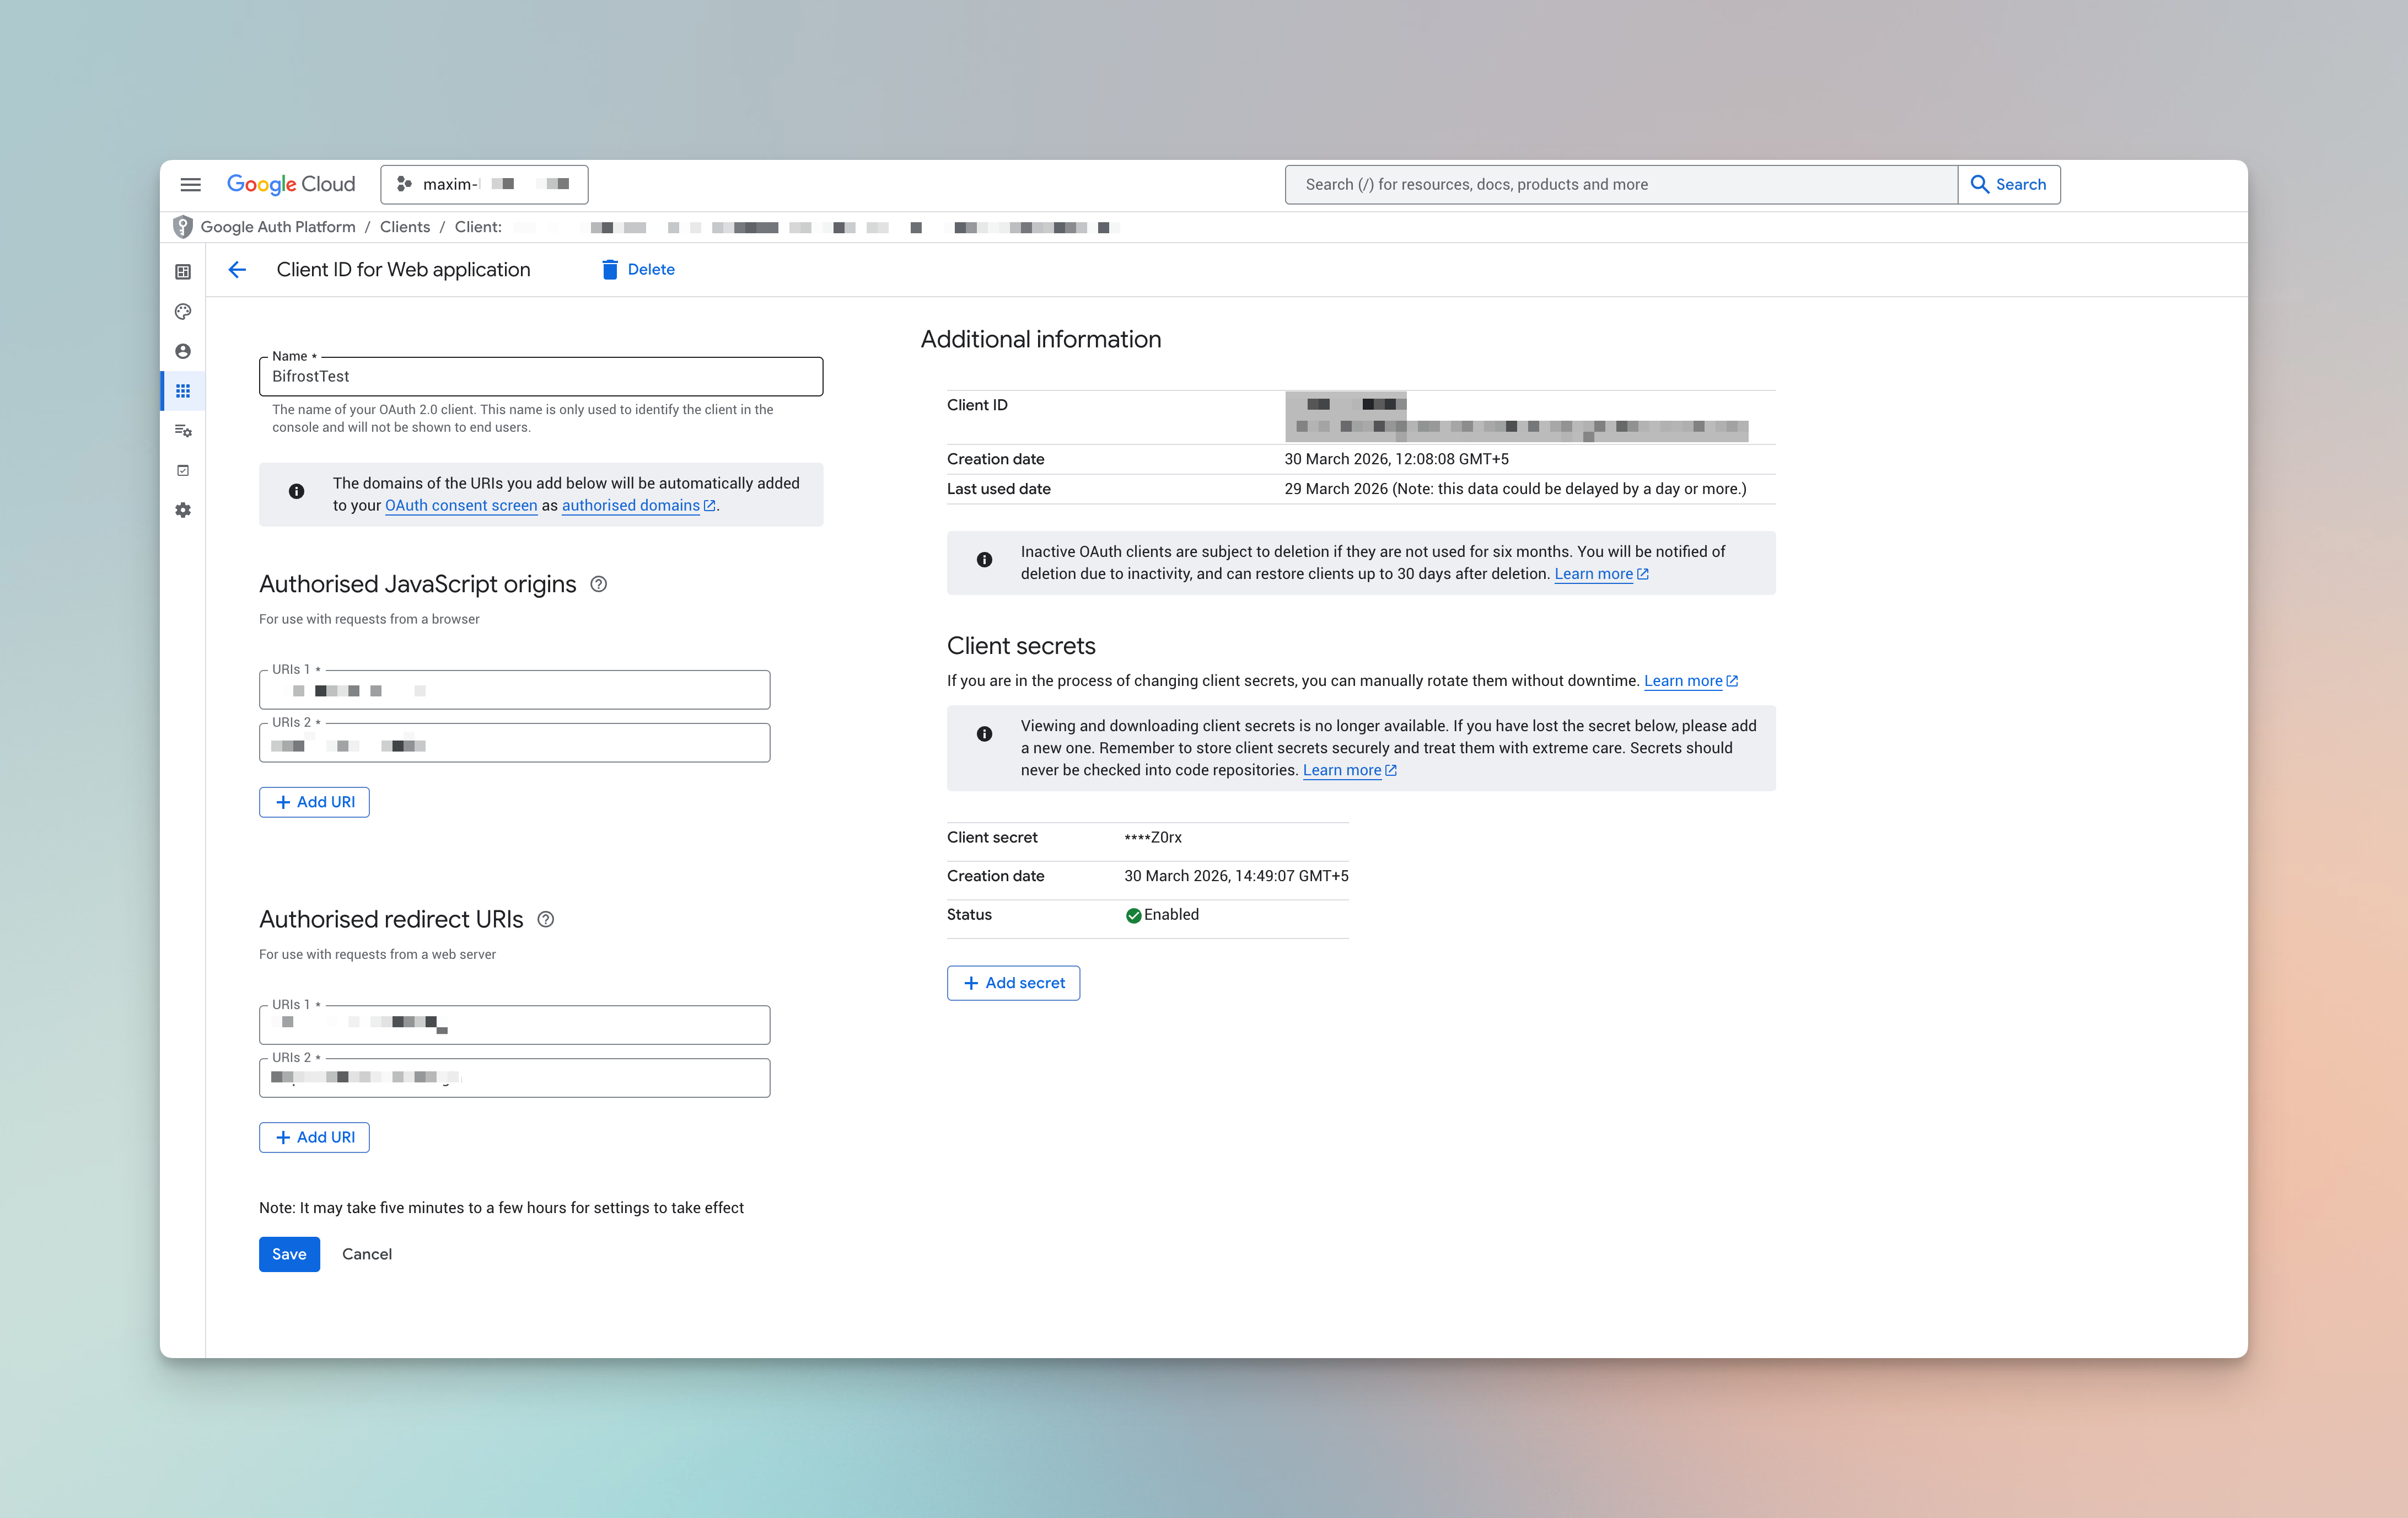
Create credentials - select OAuth client ID to generate a client for Vikat.
Configure the OAuth client
Copy your credentials
Step 3: Create a service account for Directory API access (optional)
Create the service account
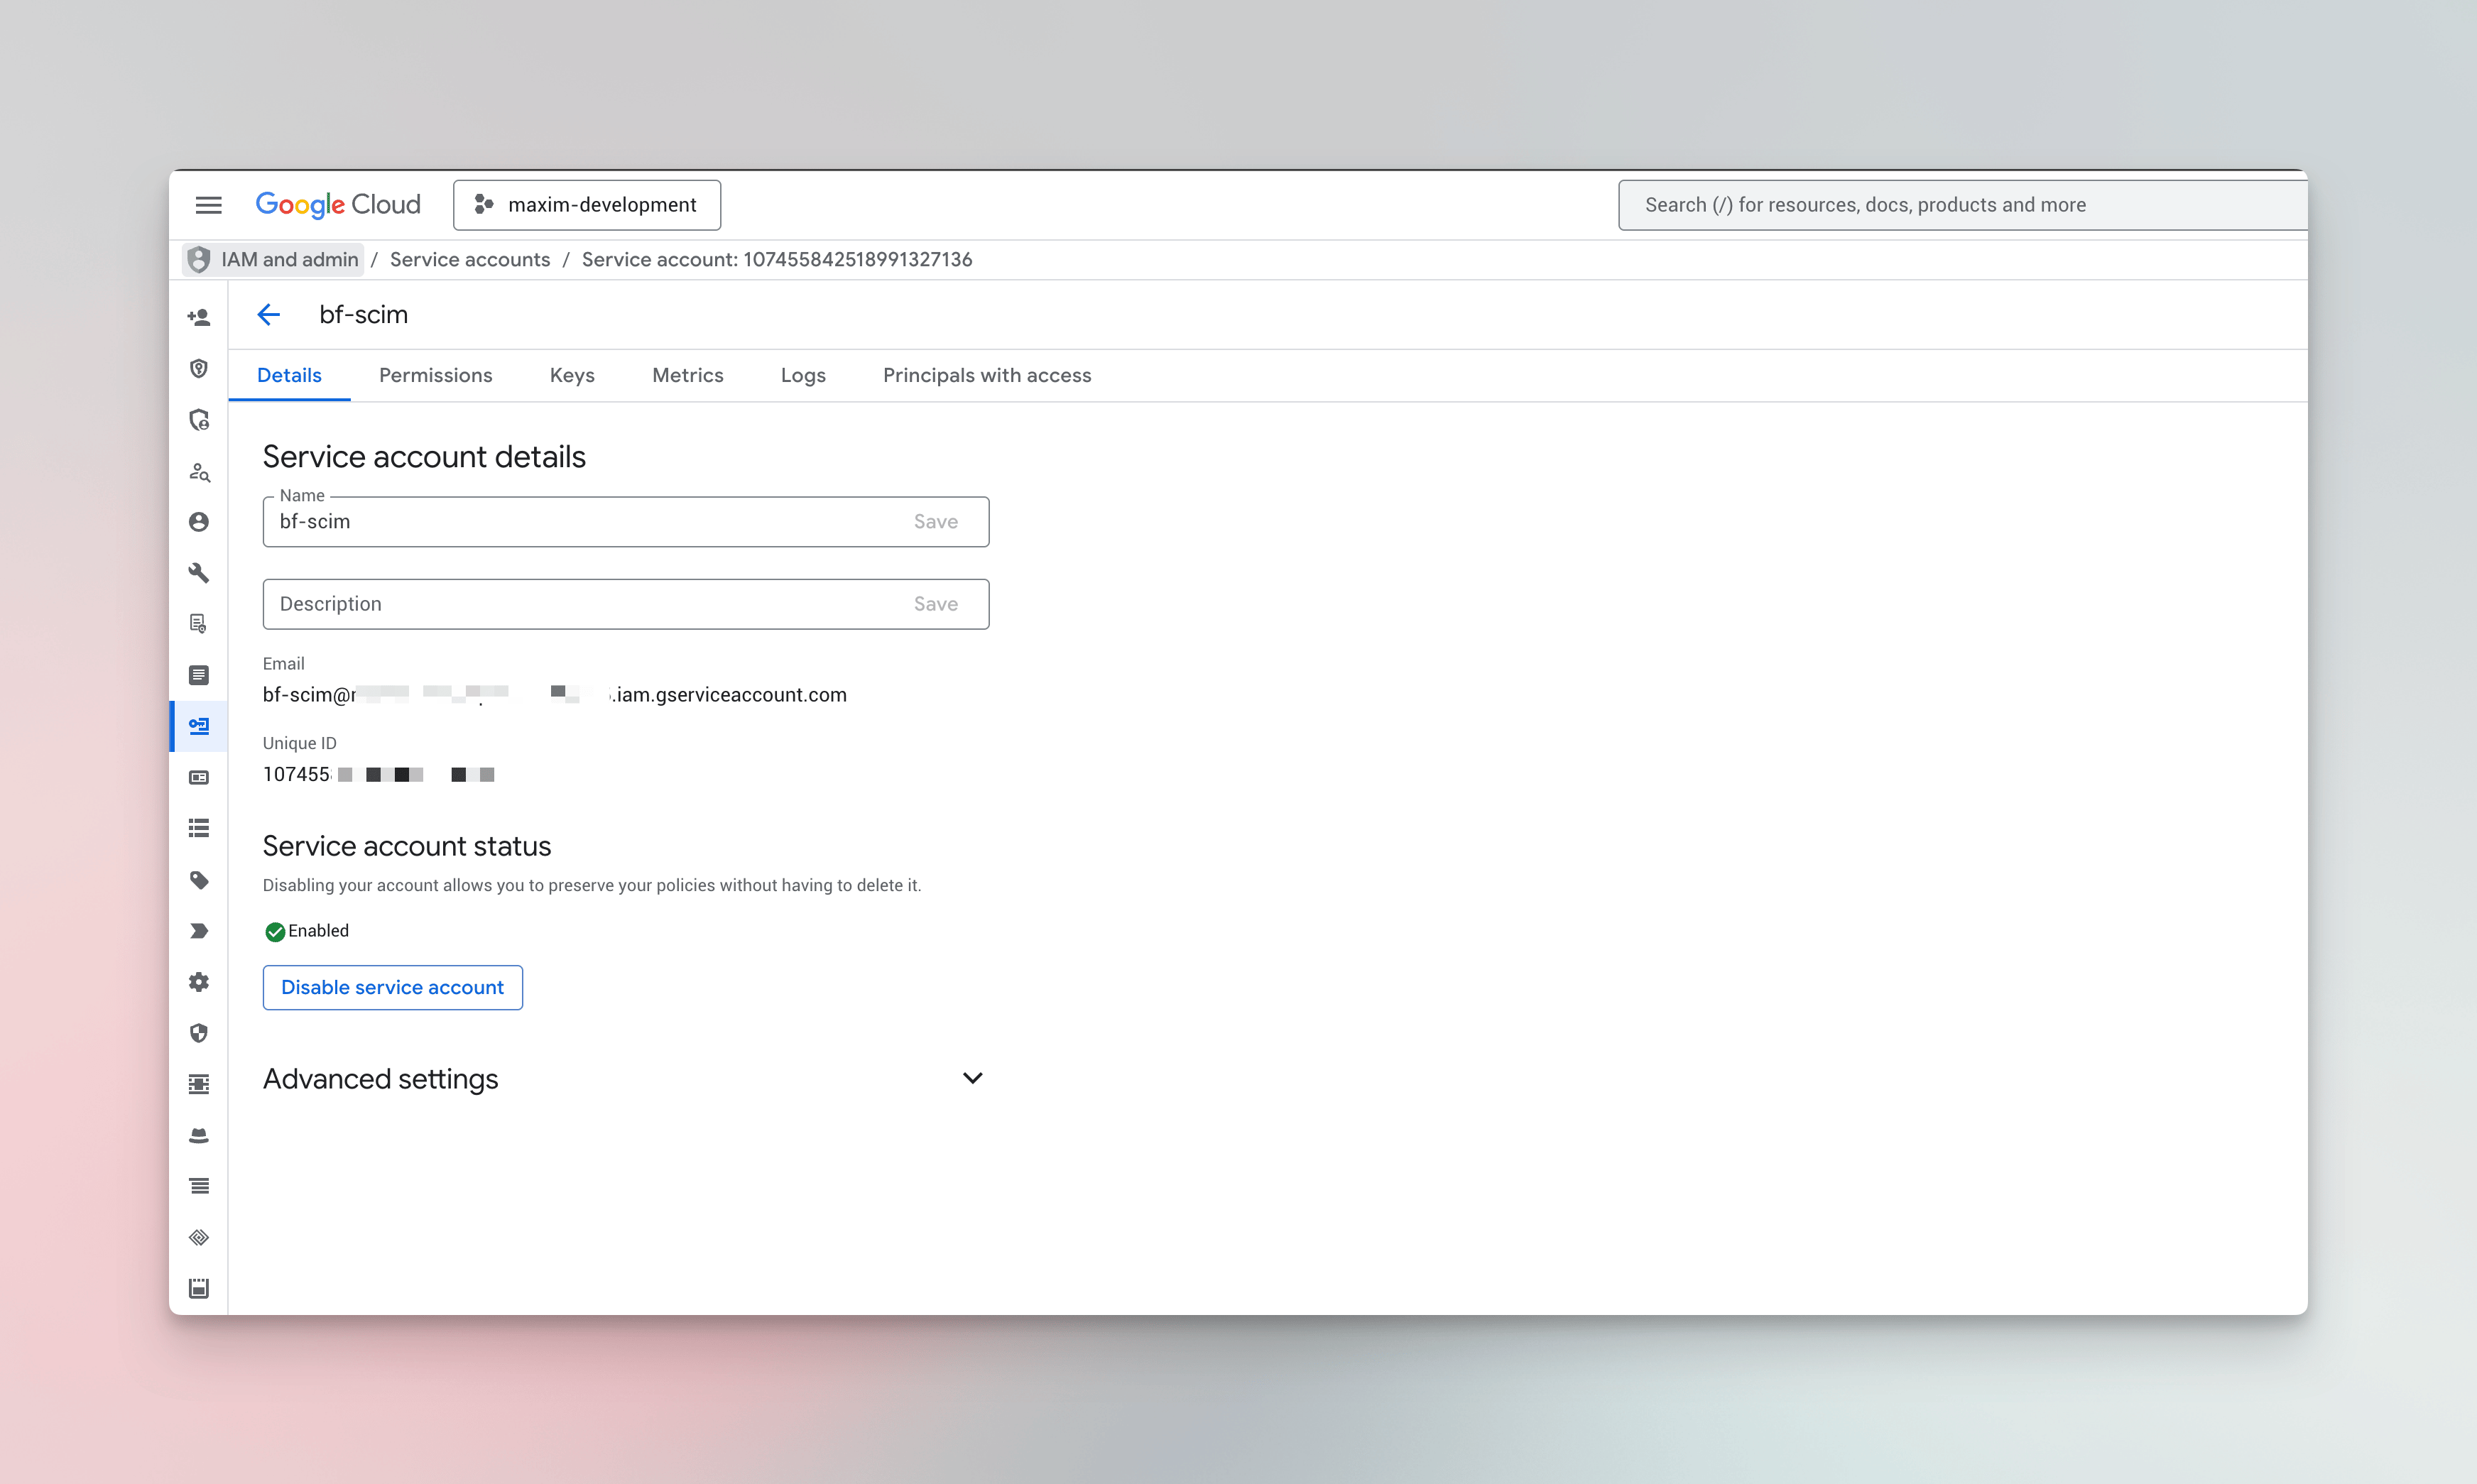
Create a service account - the account is used to call the Admin Directory API on behalf of Vikat.
vikat-provisioning). Skip the Grant this service account access to project step - no GCP IAM roles are required; access is granted via domain-wide delegation in Step 4.Generate a JSON key
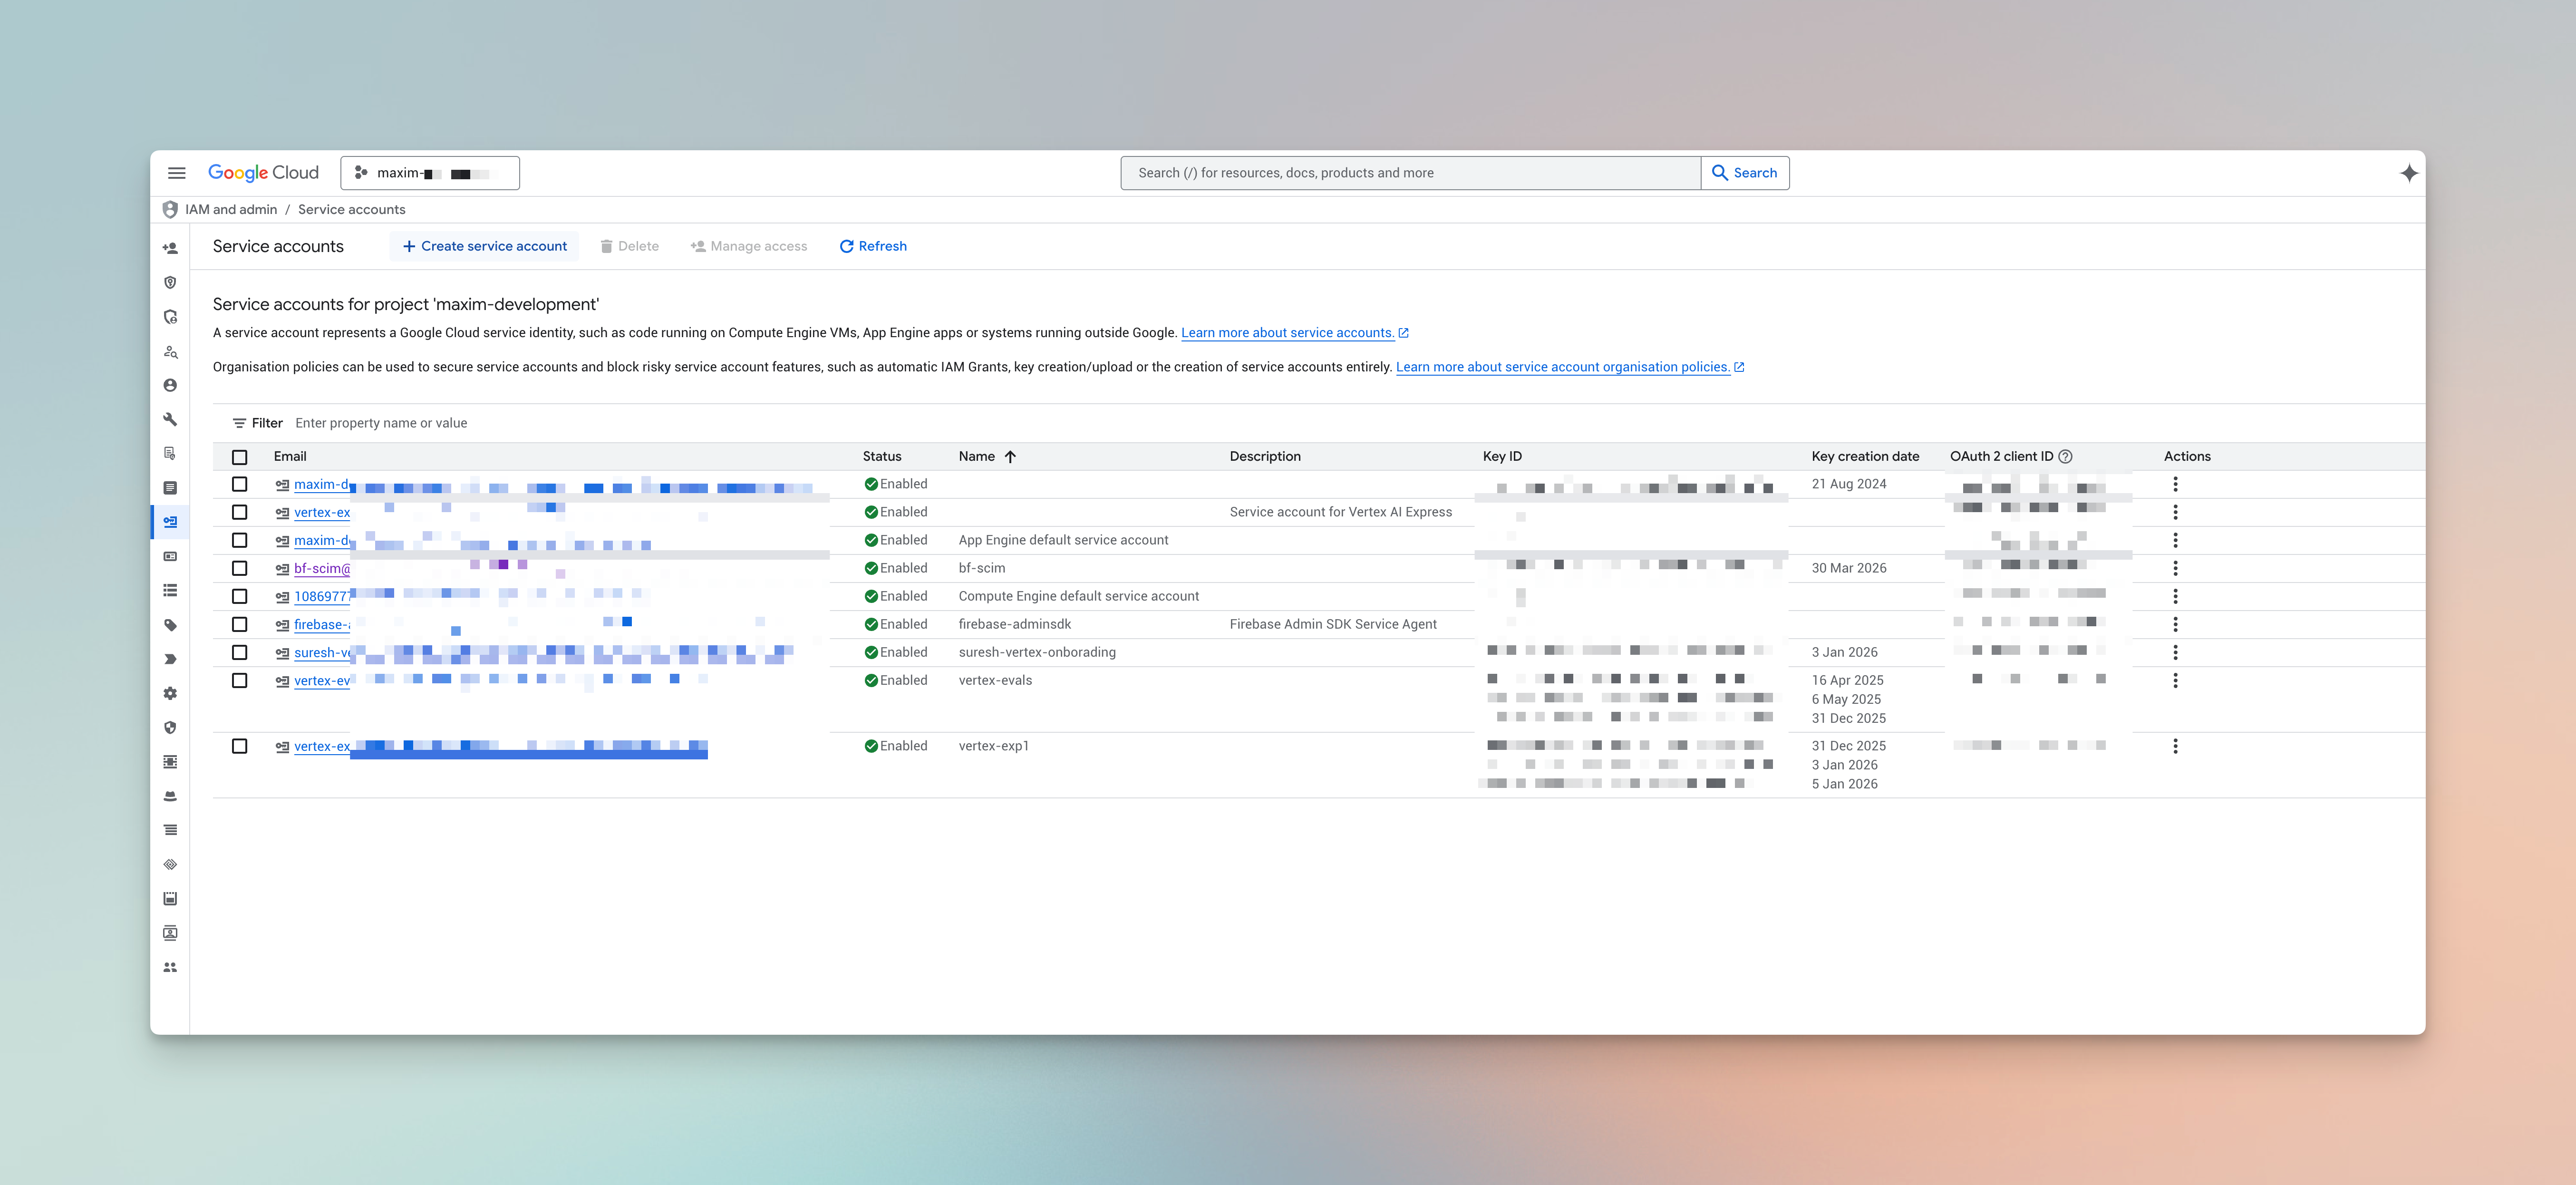
Create a new JSON key - download and store the file securely. This is the only time you can download it.
Copy the Unique ID
Step 4: Enable the Admin SDK and set up domain-wide delegation (optional)
Enable the Admin SDK API
Configure domain-wide delegation
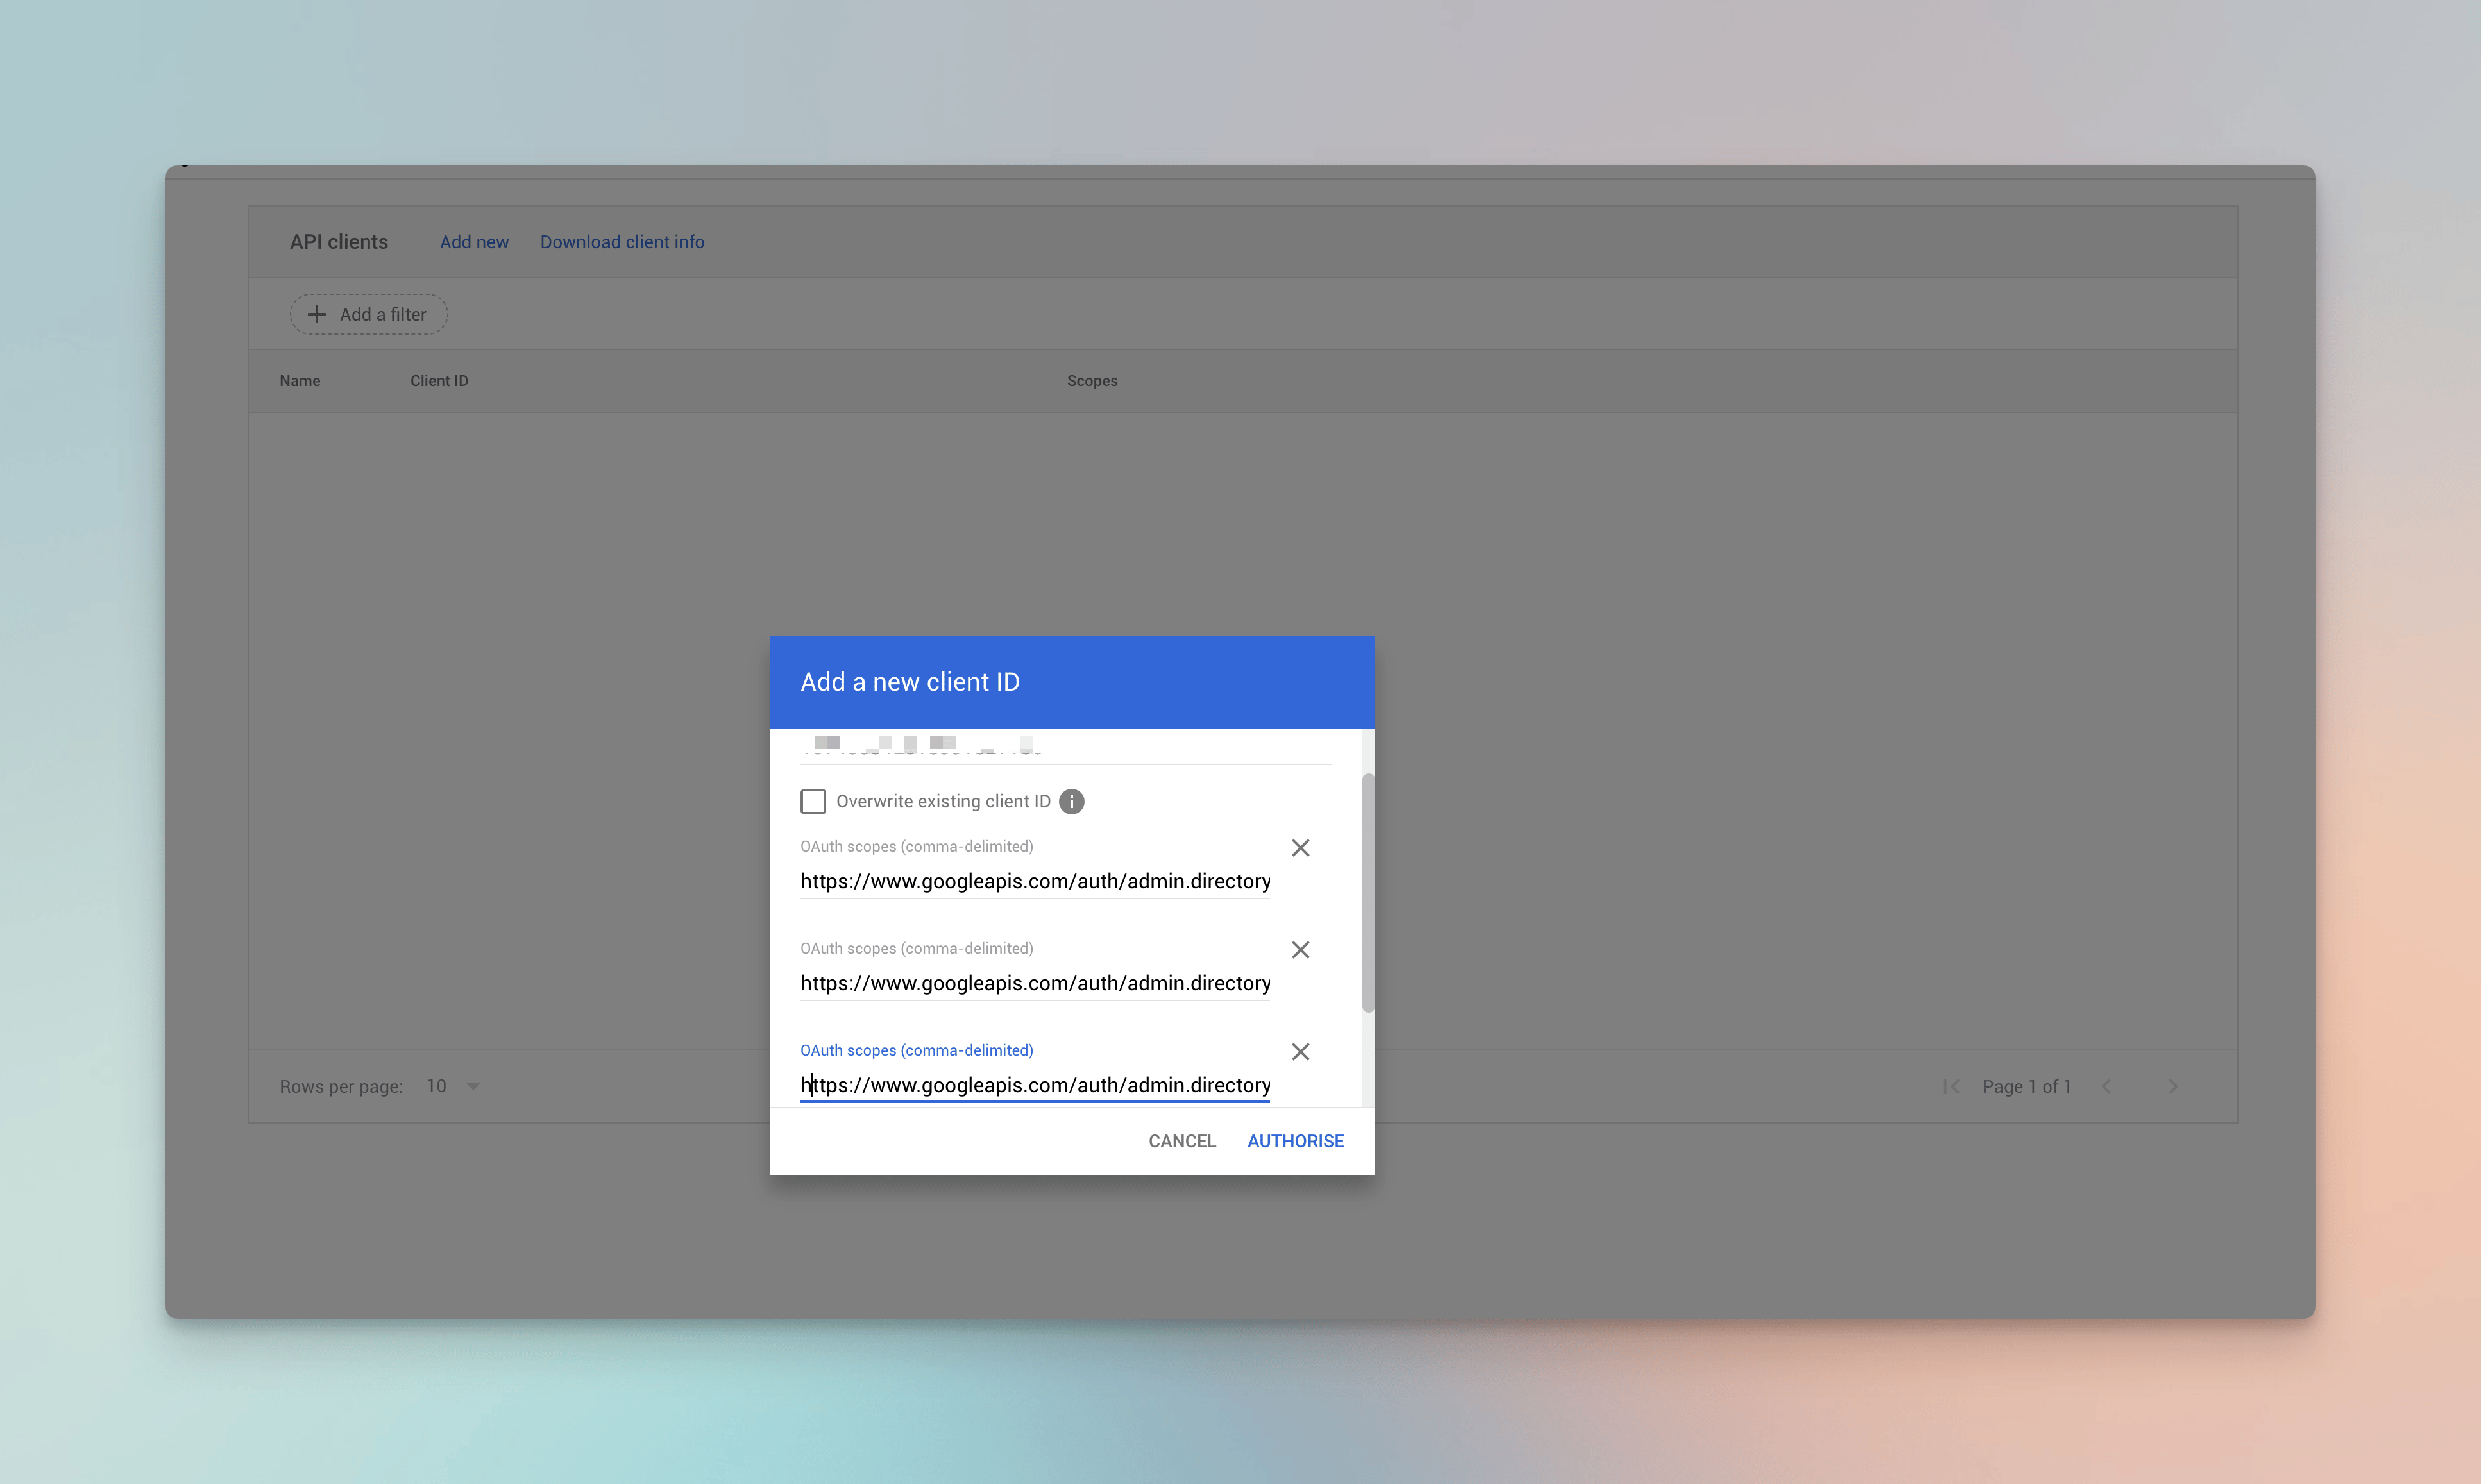
Domain-wide delegation - authorize the service account to call the Directory API on behalf of an admin user.
- Client ID: the service account Unique ID from Step 3
- OAuth scopes (copy all three, comma-separated):
sso-admin@company.com) - Vikat uses this as the Admin Email in Step 5.Step 5: Configure Vikat
Open User Provisioning and choose Google Workspace
Fill in the provider configuration
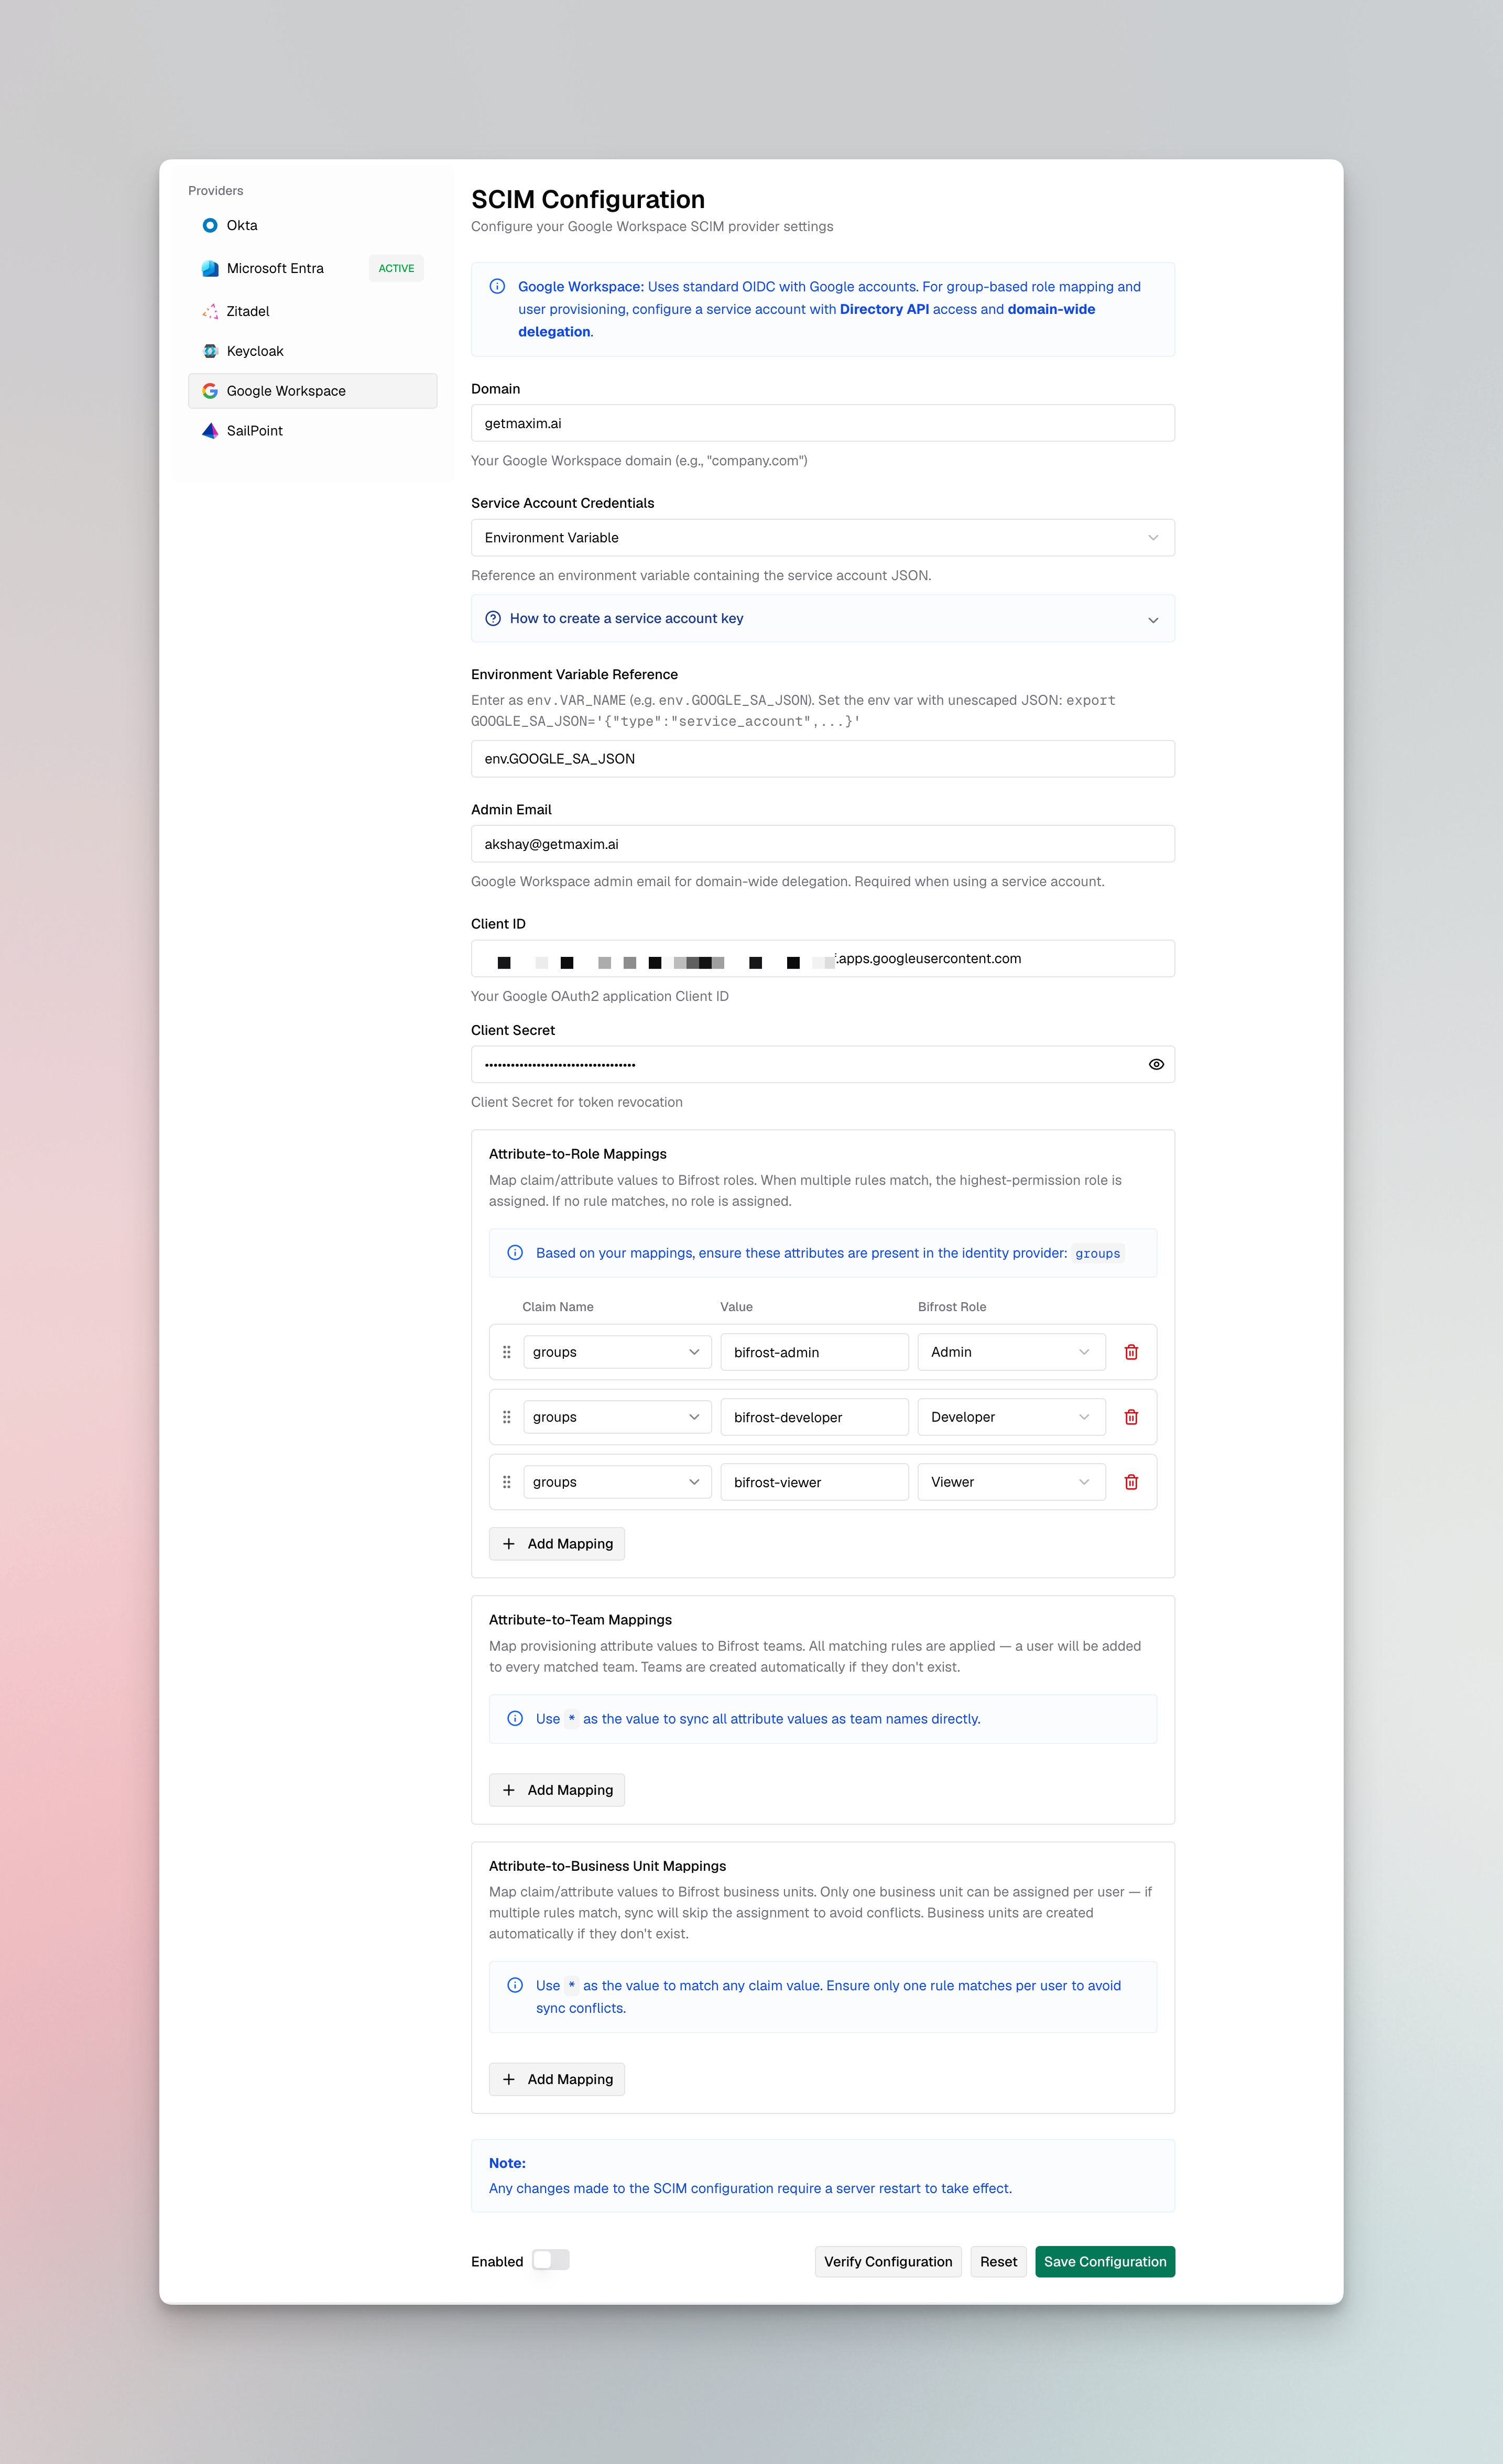
Provider Configuration - enter your Google OAuth credentials and optional service account details.
Discover claims
hd for hosted domain, email, groups) are present before building your mappings.Set up attribute mappings
- All matching rules are evaluated - if multiple rules match, the role with the highest permissions is assigned
- If no rule matches, the user is not assigned a role and login is denied
- Use a specific value (e.g.
engineering) to map that exact claim value to a named Vikat team - Use
*as the value to sync the claim value directly as the team name - Use
${*}to extract part of the string - e.g.Vikat Playground: ${*} TeammatchesVikat Playground: Alpha Teamand creates team Alpha
- Use a specific value (e.g.
platform) to map that exact claim value to a named Vikat business unit - Use
${*}to extract a substring as the business unit name - e.g.Vikat Playground: ${*} BUmatchesVikat Playground: Alpha BUand creates business unit Alpha - When a rule matches, the resolved business unit is assigned to all of that user’s teams
- Manually assigned teams are left unchanged
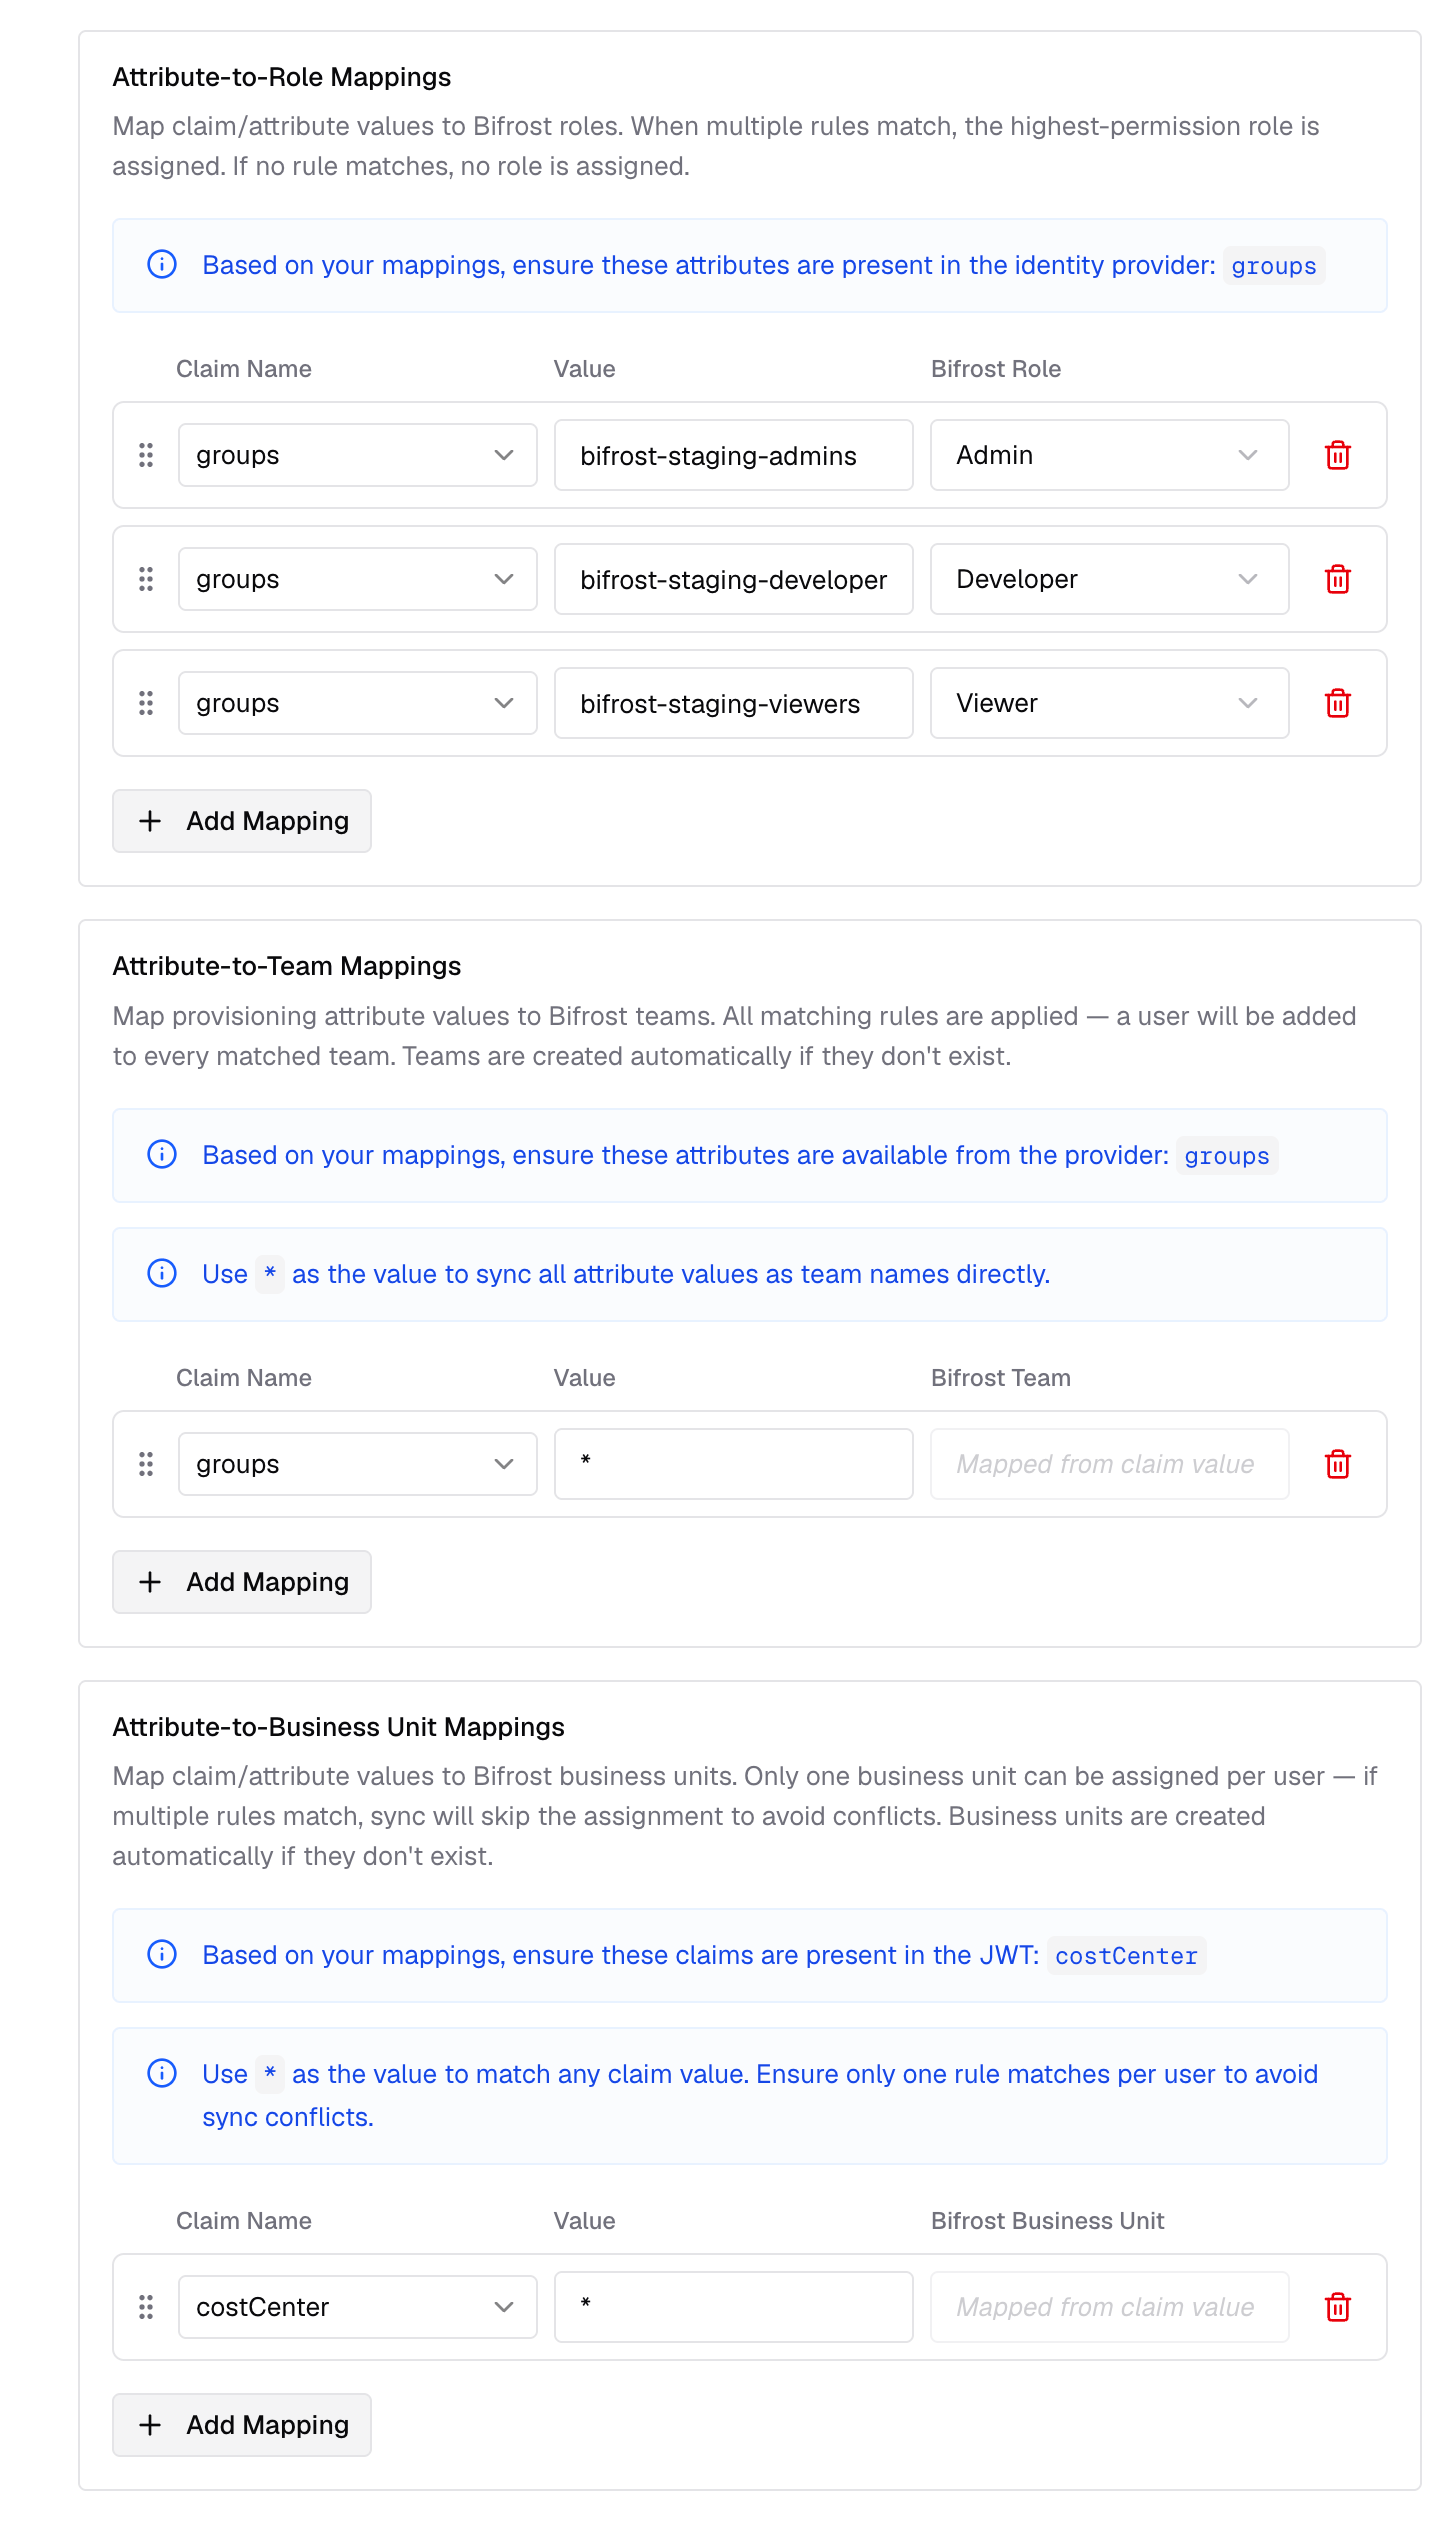
Attribute Mapping - configure role, team, and business unit rules based on the claims Google sends.
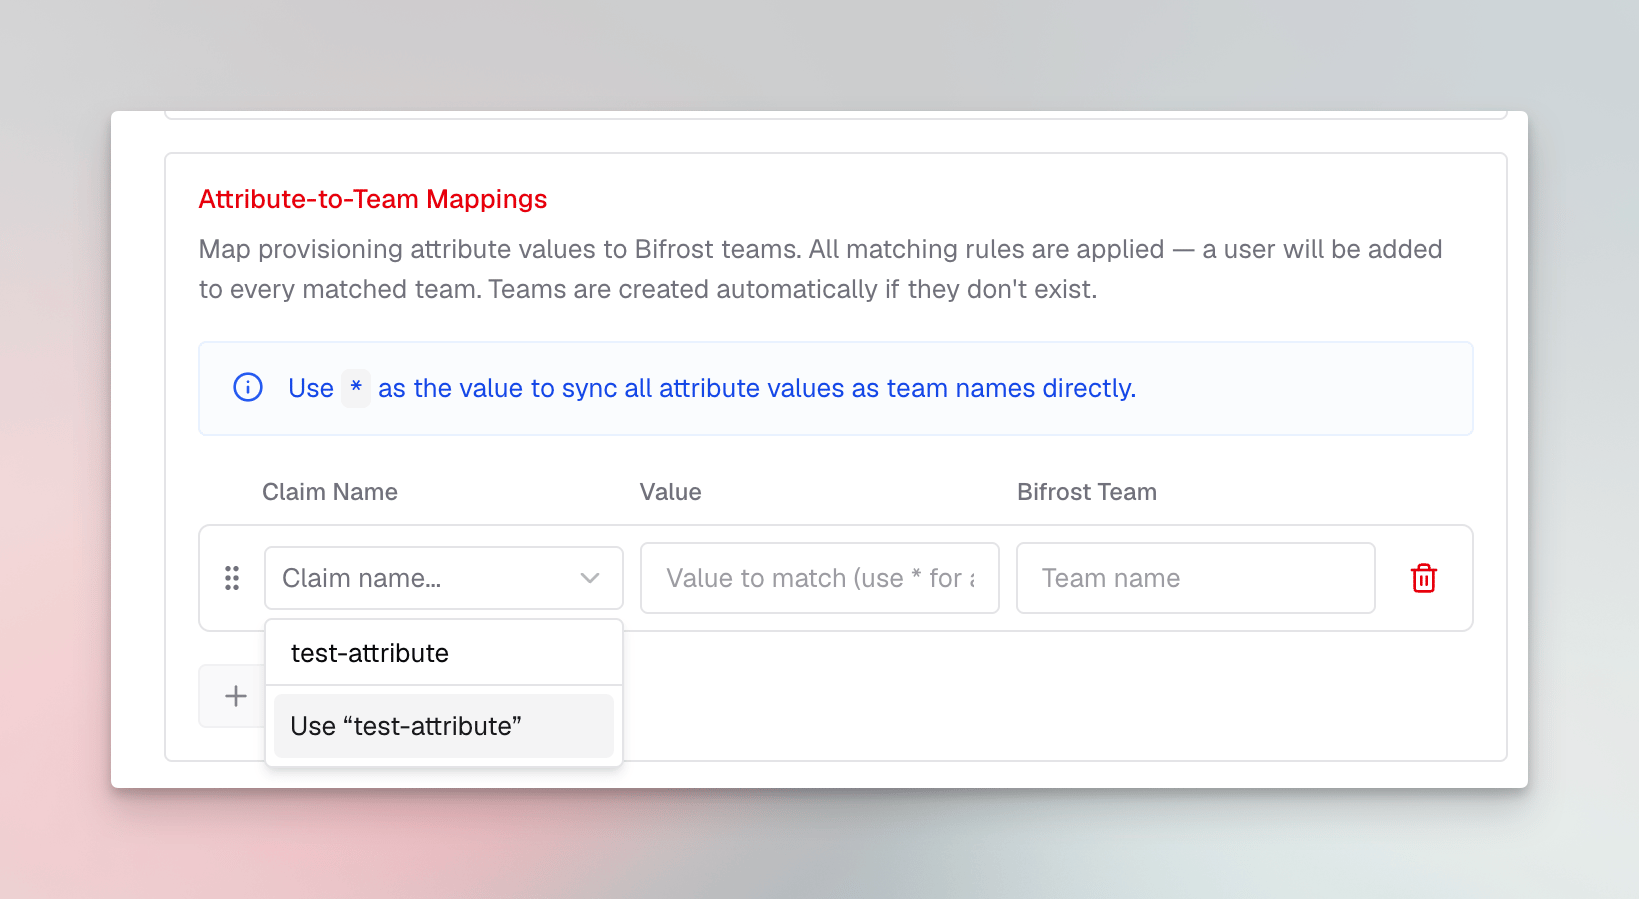
Custom attribute mapping - map any custom claim from Google to a Vikat role, team, or business unit.
Review and enable
How background sync works
Vikat uses the Directory API credentials from this setup to sync users in the background every 24 hours. During that sync, Vikat reconciles imported users, role mappings, team mappings, and business-unit mappings from Google Workspace. Every 15 minutes, Vikat also refreshes active OIDC sessions. If a session cannot be refreshed, Vikat checks with Google whether the user is still active; if Google reports the user as inactive, Vikat decommissions that user locally.Optional next steps
Real-time user sync - OIDC provisions users on first login and the Directory API runs a 24-hour background sync. For closer to real-time provisioning via SCIM, see SCIM with Google Workspace.Troubleshooting
admin_policy_enforced or access_denied during OAuth - the Workspace admin has blocked third-party OAuth apps. In the Admin Console, go to Security → Access and data control → API controls and allow the Vikat OAuth client.
unauthorized_client: Client is unauthorized to retrieve access tokens - the service account Unique ID and scopes in Domain-Wide Delegation don’t match. Re-enter the numeric Unique ID from the service account Details tab (not the client email or OAuth client ID).
Not Authorized to access this resource/api from Directory API - the impersonated adminEmail is missing the User Management Admin role. Promote them in Admin Console → Admin roles. Also confirm the Admin SDK API is enabled in the Cloud project.
domain_mismatch - use the primary domain, not an alias.
Users see a consent prompt every login - on the OAuth consent screen, ensure the app is Published (or Internal for Workspace-only) so it doesn’t stay in testing mode.